

Salted Caramel Cream Cups Recipe: A Rich and Indulgent Dessert
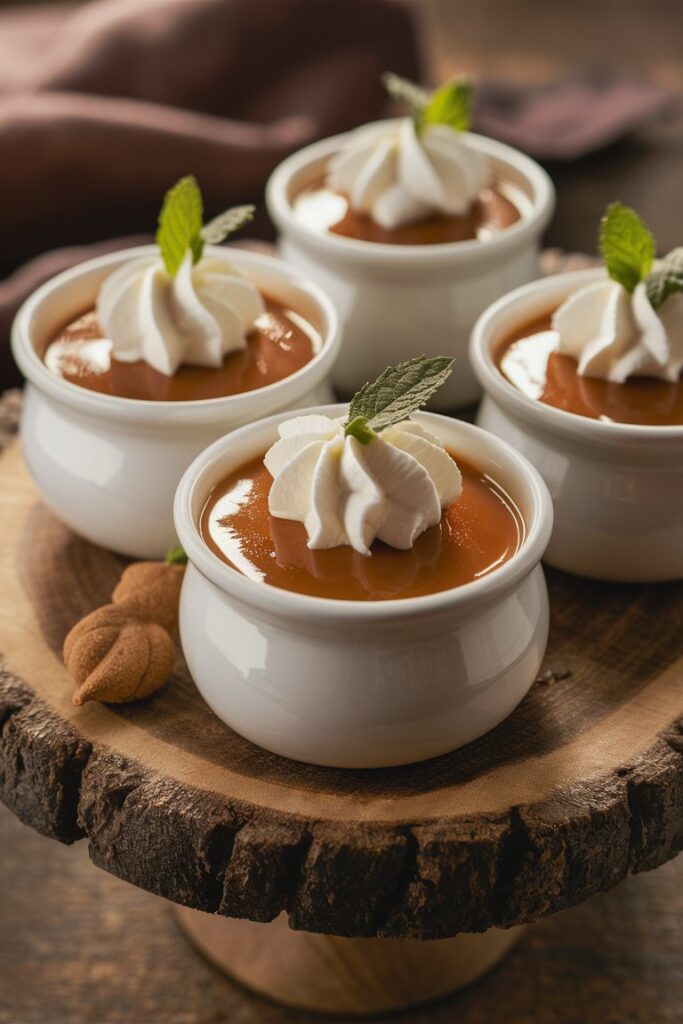
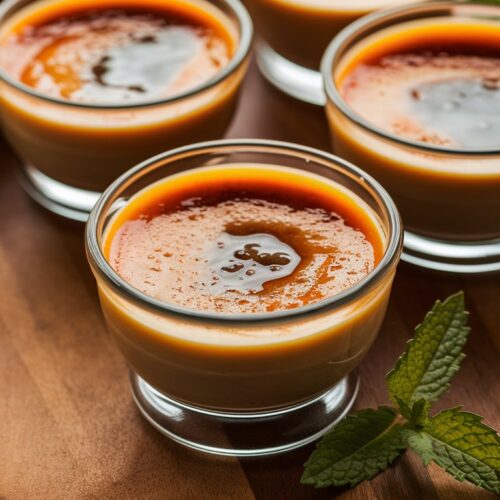
If you’re looking for a creamy, decadent dessert, these salted caramel cream cups are the perfect choice. This recipe brings together the deep, buttery richness of caramel with a subtle touch of sea salt, creating an irresistible contrast of flavors.
These individual caramel custards are surprisingly easy to make and can be prepared in advance, making them an ideal dessert for special occasions or elegant dinners.
Follow this step-by-step guide to create these silky homemade caramel cream cups that will impress your guests!
Prep and Cook Time
- Prep time: 20 minutes
- Cook time: 40 minutes
- Chill time: 2 hours (refrigeration)
- Total time: 3 hours
Ingredients (Serves 6)
To make these delicious caramel custard cups, you’ll need:
- 1 cup (200g) granulated sugar
- 2 cups (500ml) heavy cream
- 1 1/4 cups (300ml) whole milk
- 5 large egg yolks
- 1 teaspoon vanilla extract
- A pinch of sea salt (fleur de sel recommended)
How to Make Salted Caramel Cream Cups
Step 1: Prepare the Caramel
- In a heavy-bottomed saucepan, heat the sugar over medium heat without stirring. Allow it to melt and caramelize, swirling the pan occasionally to ensure even coloring.
- Once the sugar turns a deep golden amber, lower the heat and carefully pour in the heavy cream while stirring constantly. Be cautious, as the caramel may bubble vigorously.
- Stir in the milk and sea salt, then continue heating over low heat, stirring until the mixture is fully combined and smooth. Remove from heat and set aside.
Step 2: Prepare the Custard Base
- In a mixing bowl, whisk together the egg yolks and vanilla extract until light and slightly frothy.
- Gradually pour the warm caramel mixture into the egg yolks, whisking constantly to prevent curdling.
- Strain the mixture through a fine-mesh sieve to remove any bits of cooked egg or hardened caramel.
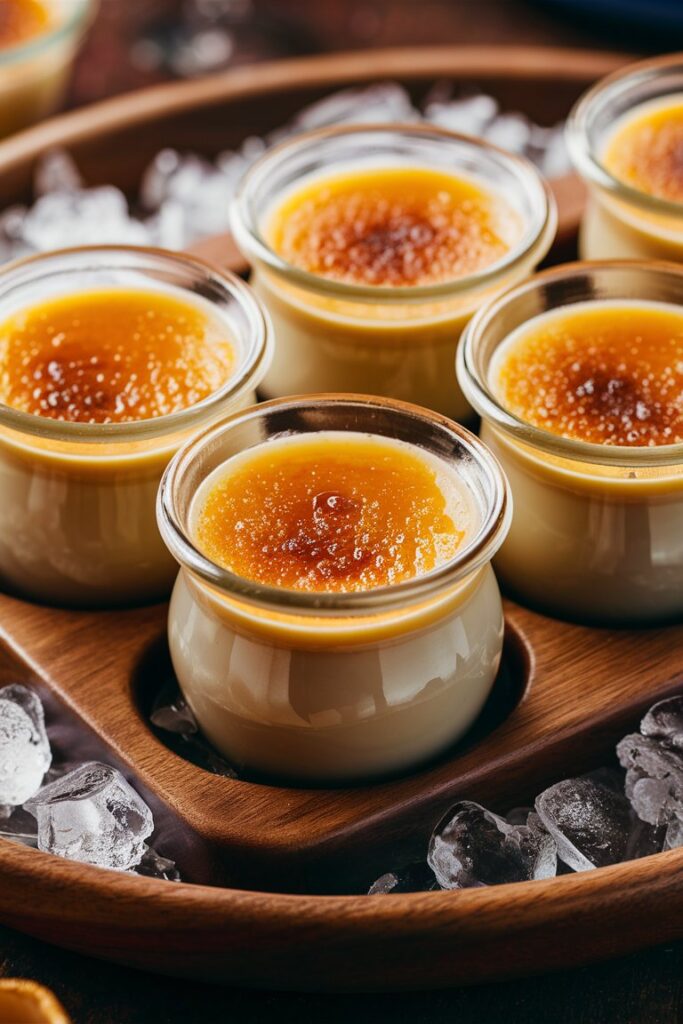
Step 3: Bake in a Water Bath
- Preheat your oven to 300°F (150°C).
- Divide the caramel custard mixture evenly into 6 small ramekins.
- Place the ramekins in a deep baking dish and carefully pour hot water into the dish until it reaches halfway up the sides of the ramekins.
- Bake for 40 minutes, or until the custards are set but still slightly wobbly in the center.
- Remove the ramekins from the water bath and allow them to cool at room temperature before refrigerating for at least 2 hours.
Nutrition & Health Benefits
Nutritional Value (Per Serving)
These silky caramel custards are rich and indulgent, perfect for a luxurious dessert.
- Calories: ~400 kcal
- Carbohydrates: 30g
- Protein: 4g
- Fat: 20g
Health Benefits of Key Ingredients
- 🥚 Egg Yolks – High in vitamins A, D, and E, as well as essential minerals like iron and zinc.
- 🥛 Heavy Cream & Milk – Great sources of calcium for bone health and healthy fats for energy.
- 🍬 Caramelized Sugar – Provides a sweet, comforting flavor, though best enjoyed in moderation.
- 🧂 Sea Salt (Fleur de Sel) – Enhances flavors while adding essential minerals in small amounts.
Zoé’s Tips
- For ultra-smooth caramel, avoid stirring while the sugar melts—simply swirl the pan occasionally.
- Slowly add the cream to the caramel to prevent crystallization and achieve a silky texture.
- To intensify the caramel flavor, let the sugar caramelize a few seconds longer—but be careful not to burn it!
- For an extra refined texture, strain the custard mixture before baking to remove any lumps or cooked egg bits.
Best Serving Suggestions
- 🍪 With Butter Shortbread – The crispiness of buttery cookies pairs perfectly with the creamy custard.
- 🍓 With Fresh Fruit – Berries like raspberries or sliced pears add a refreshing contrast to the richness.
- ☕ With a Cup of Espresso – The deep caramel notes beautifully complement a strong coffee or espresso.
Delicious Variations of Salted Caramel Cream Cups Recipe
- ☕ Caramel Coffee Custard – Add 1 teaspoon of instant coffee to the custard mixture for a delicious coffee-caramel flavor.
- 🥥 Dairy-Free Coconut Caramel Custard – Substitute coconut milk and coconut cream for a lactose-free option.
- 🍫 Chocolate Caramel Custard – Stir 2 oz (50g) of melted dark chocolate into the warm caramel before mixing with the eggs.
- 🌿 Vanilla Bean Caramel Custard – Use real vanilla bean seeds for an even deeper vanilla flavor.
Salted Caramel Cream Cups
Ingredients
- 1 cup 200g granulated sugar
- 2 cups 500ml heavy cream
- 1 1/4 cups 300ml whole milk
- 5 large egg yolks
- 1 teaspoon vanilla extract
- A pinch of sea salt fleur de sel recommended
Instructions
Step 1: Prepare the Caramel
- In a heavy-bottomed saucepan, heat the sugar over medium heat without stirring. Allow it to melt and caramelize, swirling the pan occasionally to ensure even coloring.
- Once the sugar turns a deep golden amber, lower the heat and carefully pour in the heavy cream while stirring constantly. Be cautious, as the caramel may bubble vigorously.
- Stir in the milk and sea salt, then continue heating over low heat, stirring until the mixture is fully combined and smooth. Remove from heat and set aside.
Step 2: Prepare the Custard Base
- In a mixing bowl, whisk together the egg yolks and vanilla extract until light and slightly frothy.
- Gradually pour the warm caramel mixture into the egg yolks, whisking constantly to prevent curdling.
- Strain the mixture through a fine-mesh sieve to remove any bits of cooked egg or hardened caramel.
Step 3: Bake in a Water Bath
- Preheat your oven to 300°F (150°C).
- Divide the caramel custard mixture evenly into 6 small ramekins.
- Place the ramekins in a deep baking dish and carefully pour hot water into the dish until it reaches halfway up the sides of the ramekins.
- Bake for 40 minutes, or until the custards are set but still slightly wobbly in the center.
- Remove the ramekins from the water bath and allow them to cool at room temperature before refrigerating for at least 2 hours.
These salted caramel cream cups are a simple yet sophisticated dessert, perfect for dinner parties, holidays, or an indulgent treat at home. The balance of rich caramel, creamy custard, and a hint of sea salt makes every bite absolutely divine.
I hope this recipe becomes a staple in your dessert repertoire. Let me know how yours turns out!